> ## Documentation Index
> Fetch the complete documentation index at: https://zenml.mintlify.site/llms.txt
> Use this file to discover all available pages before exploring further.
# External Integration Guide
> How to integrate with ZenML
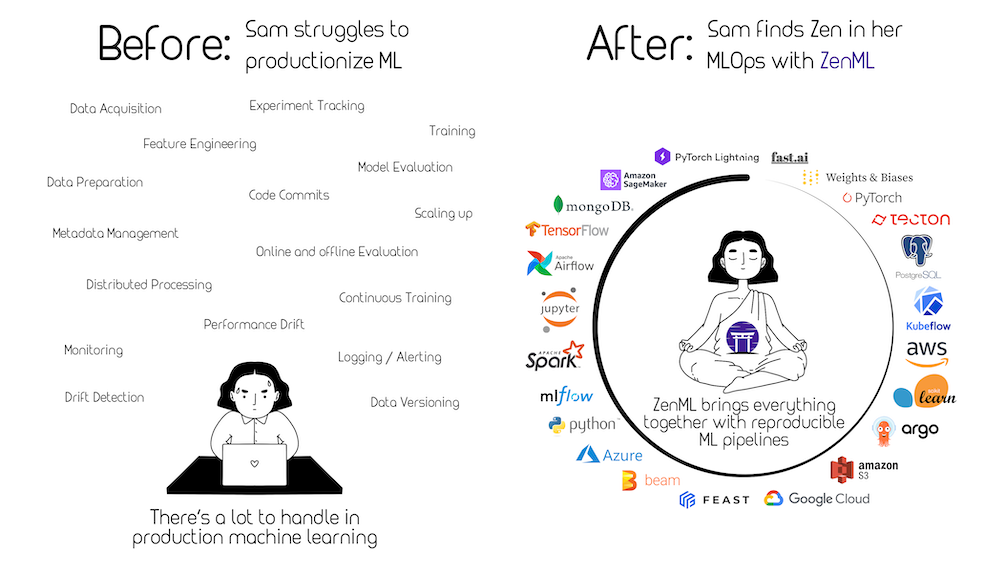
One of the main goals of ZenML is to find some semblance of order in the ever-growing MLOps landscape. ZenML already provides [numerous integrations](https://zenml.io/integrations) into many popular tools, and allows you to [extend ZenML](/advanced-guide/stacks/custom-flavors) in order to fill in any gaps that are remaining.
However, what if you want to make your extension of ZenML part of the main codebase, to share it with others? If you are such a person, e.g., a tooling provider in the ML/MLOps space, or just want to contribute a tooling integration to ZenML, this guide is intended for you.
## Step 1: Categorize your integration
In [Extending ZenML](/advanced-guide/stacks/custom-flavors), we already looked at the categories and abstractions that core ZenML defines. In order to create a new integration into ZenML, you would need to first find the categories that your integration belongs to. The list of categories can be found on [this page](/component-gallery/categories).
Note that one integration may belong to different categories: For example, the cloud integrations (AWS/GCP/Azure) contain [container registries](/component-gallery/container-registries), [artifact stores](/component-gallery/artifact-stores), [secrets managers](/component-gallery/secrets-managers) etc.
## Step 2: Create individual stack component flavors
Each category selected above would correspond to a [stack component flavor](/starter-guide/stacks). You can now start developing these individual stack component flavors by following the detailed instructions on each stack component page.
Before you package your new components into an integration, you may want to first register them with the `zenml flavor register` command and use/test them as a regular custom flavor. E.g., when [developing an orchestrator](/component-gallery/orchestrators/custom) you can use:
```sh
zenml orchestrator flavor register
```
See the docs on extensibility of the different components [here ](/advanced-guide/stacks/custom-flavors)or get inspired by the many integrations that are already implemented, for example the mlflow [experiment tracker](https://github.com/zenml-io/zenml/blob/main/src/zenml/integrations/mlflow/experiment%5Ftrackers/mlflow%5Fexperiment%5Ftracker.py).
## Step 3: Integrate into the ZenML repo
You can now start the process of including your integration into the base ZenML package. Follow this checklist to prepare everything:
### Clone Repo
Once your stack components work as a custom flavor, you can now [clone the main zenml repository](https://github.com/zenml-io/zenml) and follow the [contributing guide](https://github.com/zenml-io/zenml/blob/main/CONTRIBUTING.md) to set up your local environment for develop.
### Create the integration directory
All integrations live within [src/zenml/integrations/](https://github.com/zenml-io/zenml/tree/main/src/zenml/integrations) in their own sub-folder. You should create a new folder in this directory with the name of your integration.
### Example integration directory structure
```
/src/zenml/integrations/ <- ZenML integration directory
<- Root integration directory
|
├── artifact-stores <- Separated directory for
| ├── __init_.py every type
| └── <- Implementation class for the
├── secrets-managers artifact store flavor
| ├── __init_.py
| └── <- Implementation class for the
| flavor secrets manager
├── flavors
| ├── __init_.py
| ├── <- Config class and flavor
| └── <- Config class and flavor
|
└── __init_.py <- Integration class
```
### Define the name of your integration in constants
In [zenml/integrations/constants.py](https://github.com/zenml-io/zenml/blob/main/src/zenml/integrations/constants.py), add:
```py
EXAMPLE_INTEGRATION = ""
```
This will be the name of the integration when you run:
```sh
zenml integration install
```
### Create the integration class \_\_init\_\_.py
In `src/zenml/integrations//__init__.py` you must now create an new class, which is a subclass of the `Integration` class, set some important attributes (`NAME` and `REQUIREMENTS`), and overwrite the `flavors` class method.
```py
from zenml.integrations.constants import
from zenml.integrations.integration import Integration
from zenml.stack import Flavor
# This is the flavor that will be used when registering this stack component
# `zenml register ... -f example-orchestrator-flavor`
EXAMPLE_ORCHESTRATOR_FLAVOR = <"example-orchestrator-flavor">
# Create a Subclass of the Integration Class
class ExampleIntegration(Integration):
"""Definition of Example Integration for ZenML."""
NAME =
REQUIREMENTS = [""]
@classmethod
def flavors(cls) -> List[Type[Flavor]]:
"""Declare the stack component flavors for the integration."""
from zenml.integrations. import
return []
ExampleIntegration.check_installation() # this checks if the requirements are installed
```
Have a look at the [MLflow Integration](https://github.com/zenml-io/zenml/blob/main/src/zenml/integrations/mlflow/%5F%5Finit%5F%5F.py) as an example for how it is done.
### Import in all the right places
The Integration itself must be imported within [src/zenml/integrations/\_\_init\_\_.py](https://github.com/zenml-io/zenml/blob/main/src/zenml/integrations/%5F%5Finit%5F%5F.py).
## Step 4: Create a PR and celebrate 🎉
You can now [create a PR](https://github.com/zenml-io/zenml/compare) to ZenML and wait for the core maintainers to take a look. Thank you so much for your contribution to the code-base, rock on!