> ## Documentation Index
> Fetch the complete documentation index at: https://zenml.mintlify.site/llms.txt
> Use this file to discover all available pages before exploring further.
# Inviting Users
> How to add users to your ZenML deployment
After you have [deployed ZenML](/getting-started/deploying-zenml) and [connected your local client with the deployment](/starter-guide/collaborate/zenml-deployment), you can go ahead and start adding your teammates as users.
By default, all users have `Administrator` permissions throughout the ZenML dashboard, however one user can always choose to [share](/starter-guide/stacks/managing-stacks#sharing-stacks-over-a-zenml-server) or not share their stacks.
## Personal Settings
You can go to the settings page from the bottom of the side bar or top right of the header, and edit your details below:
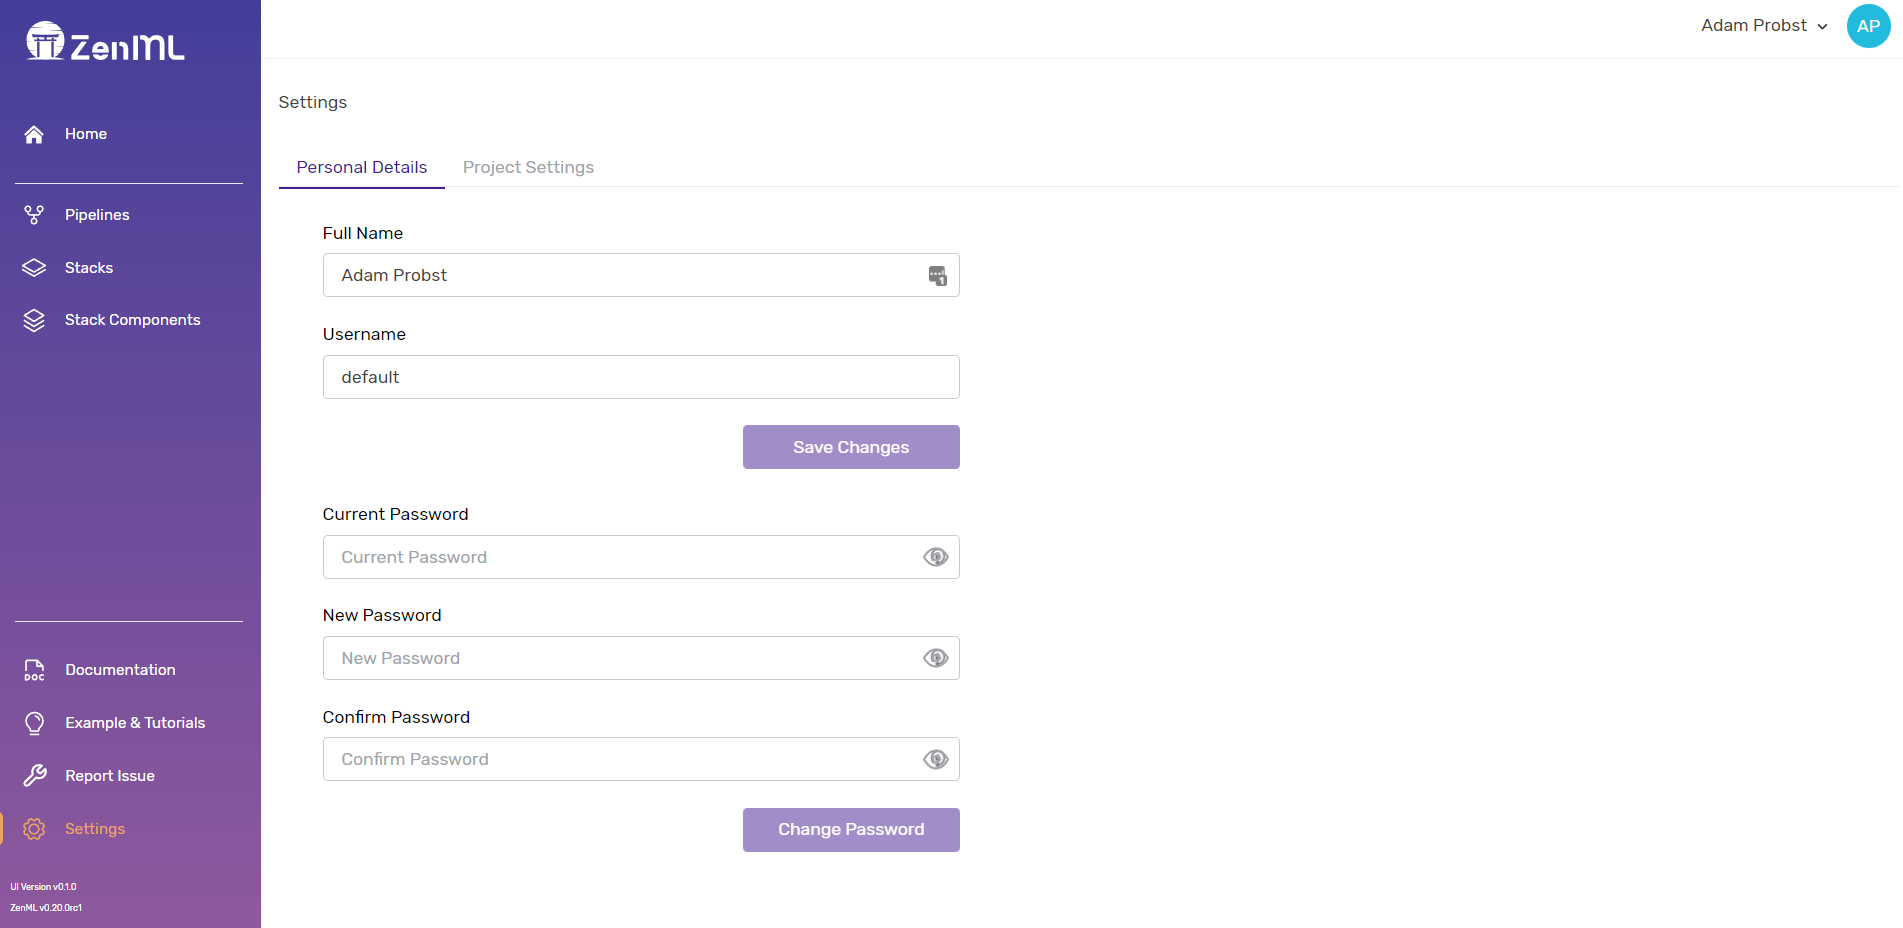
## Project Settings
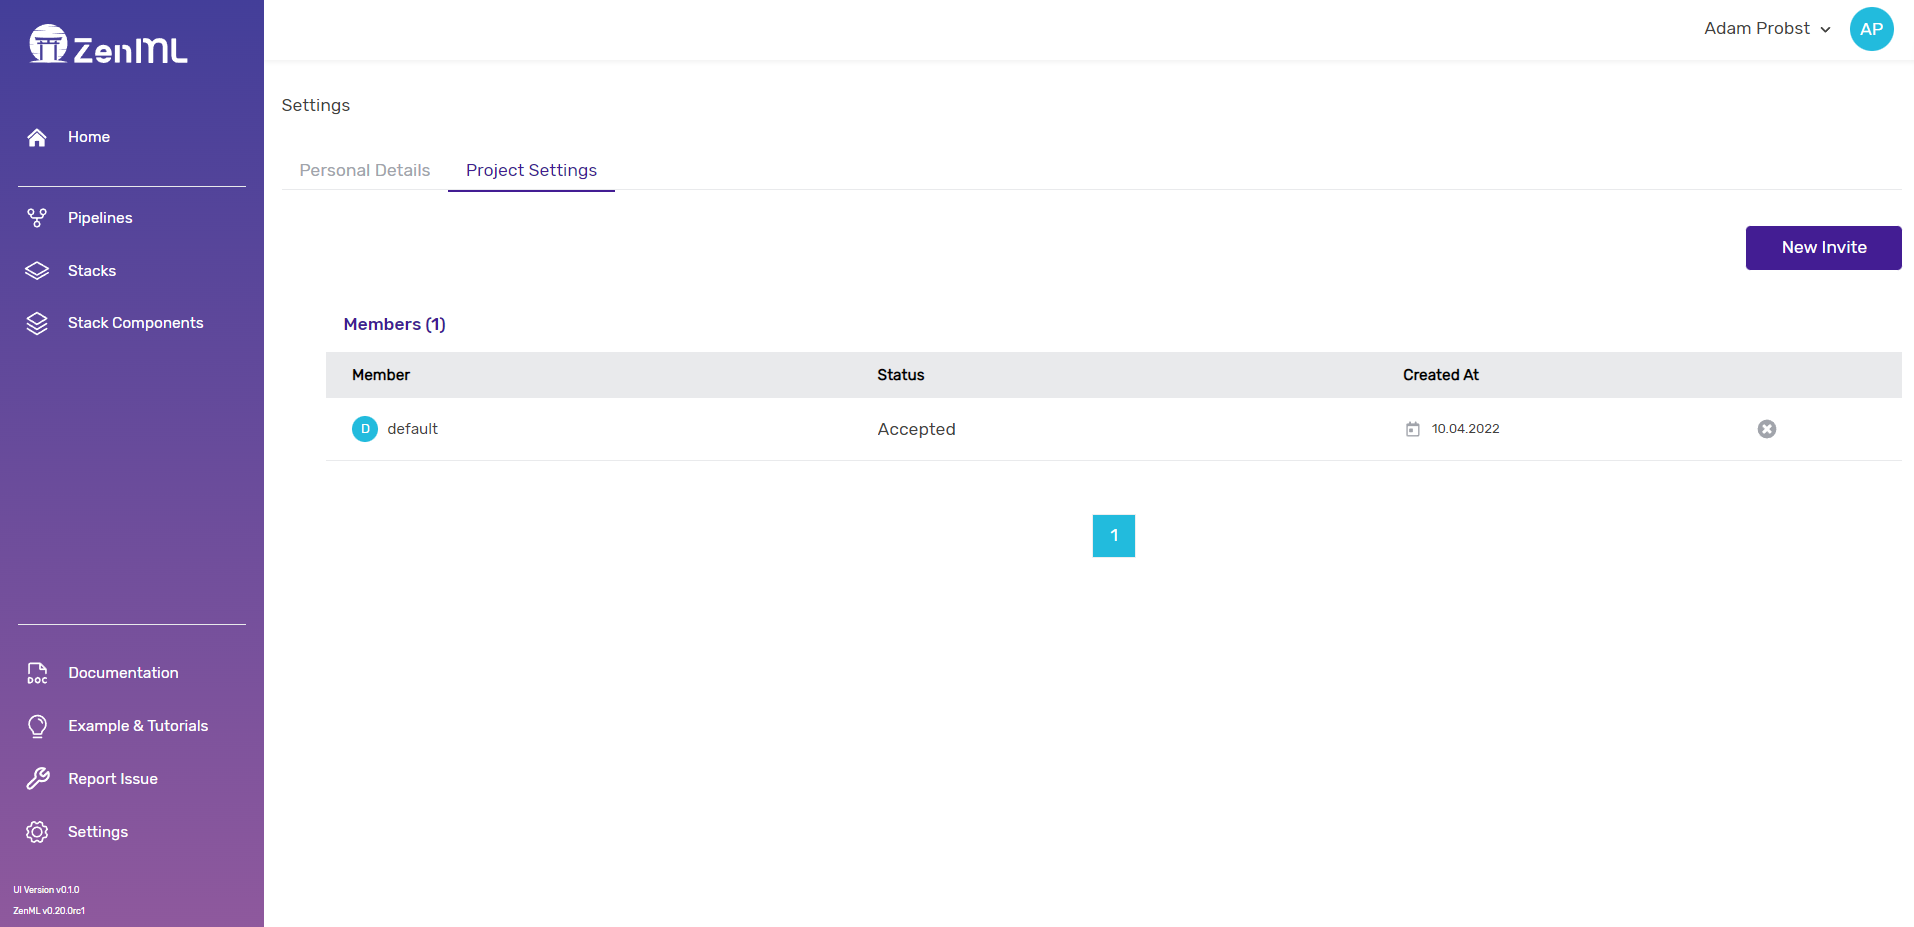
In project settings, you can see a list of users who are invited or signed up for this ZenML deployment. You can go ahead and invite a new user here with a unique username. The dashboard will generate a new token for you, in the form of a URL that you can copy and send to your teammate.
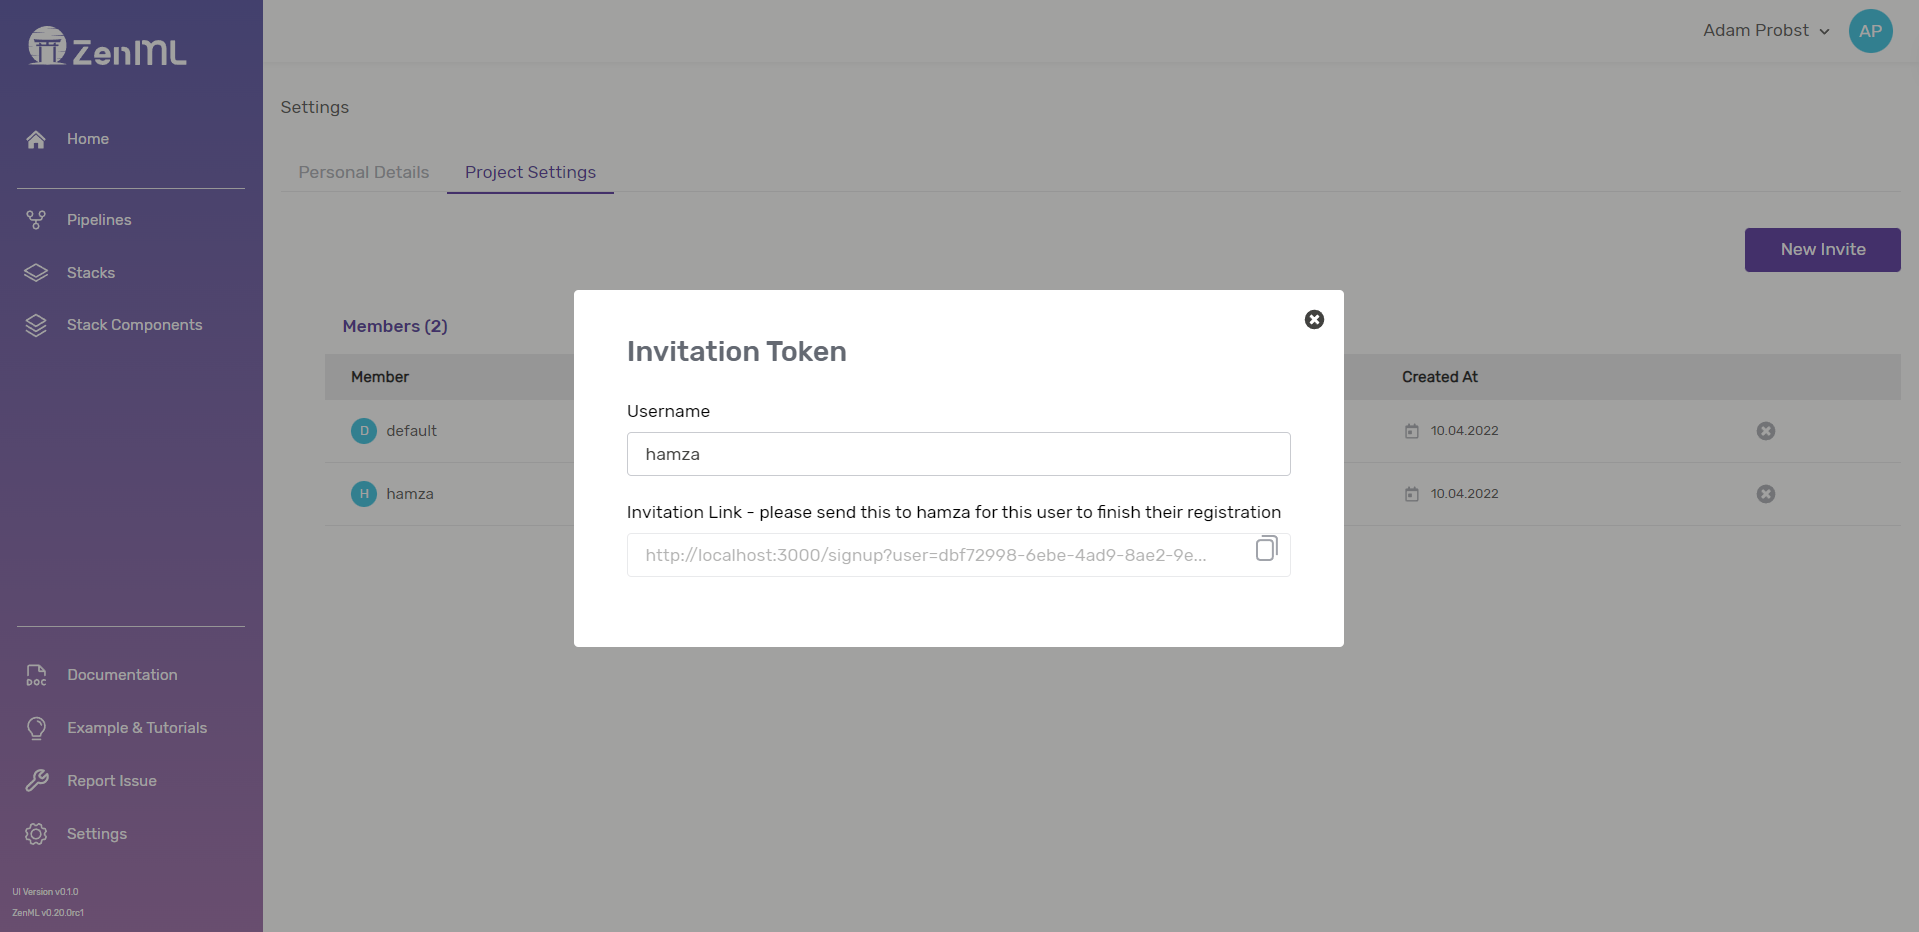
You can also mimic this behavior in a connected ZenML with the following commands:
```sh
zenml user create USERNAME
```
This creates a new user. If an empty password is configured, an activation token is generated and a link to the dashboard is provided where the user can sign up. d
## Sign up
From the invitation URL, a user can sign up as expected:
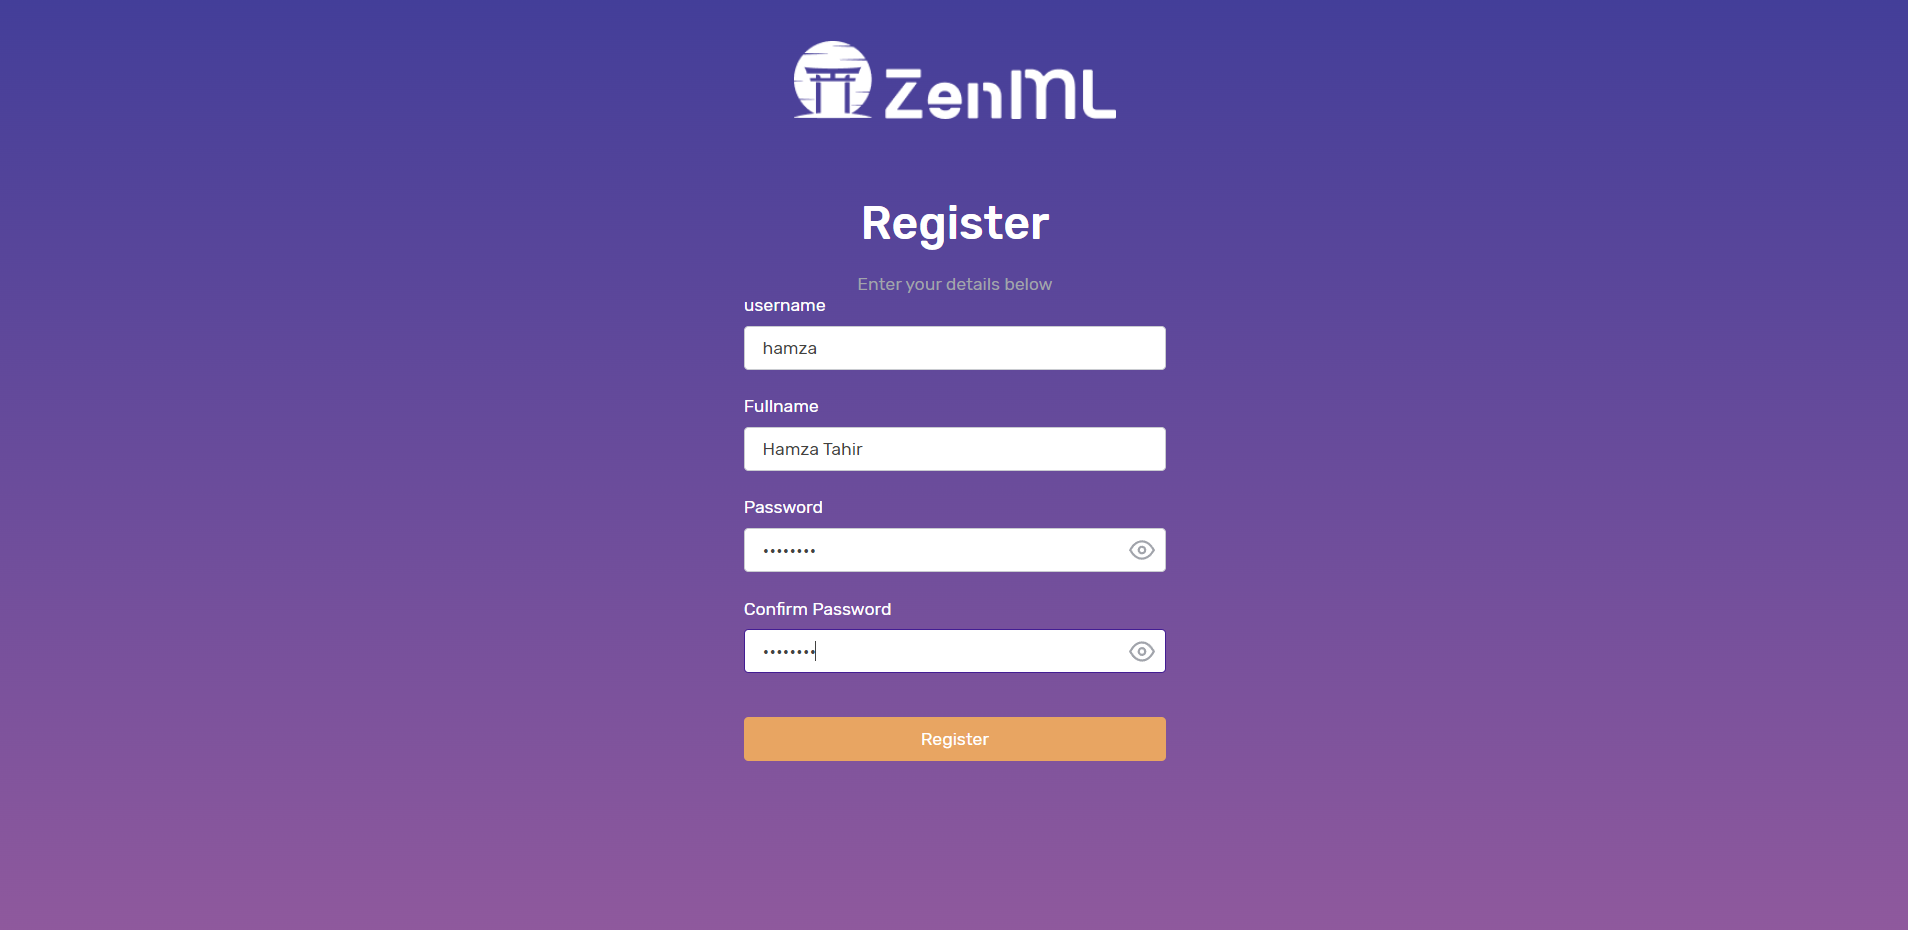
And that's it 🚀. We went from a simple ZenML pip install to a fully fledged multi-user, cloud deployment of ZenML.
Now, the next steps are to create stacks with [components from the component gallery](/component-gallery/categories), or dive into [advanced topics](/advanced-guide/pipelines) to learn about the inner workings of ZenML!